Docker is one of the most popular tools for running applications in isolated environments known as containers.
Containers ensure that your application behaves consistently no matter which machine it’s running on. They solve the common problem of “it works on my machine” by packaging your code and dependencies together.
What is a Docker Container?
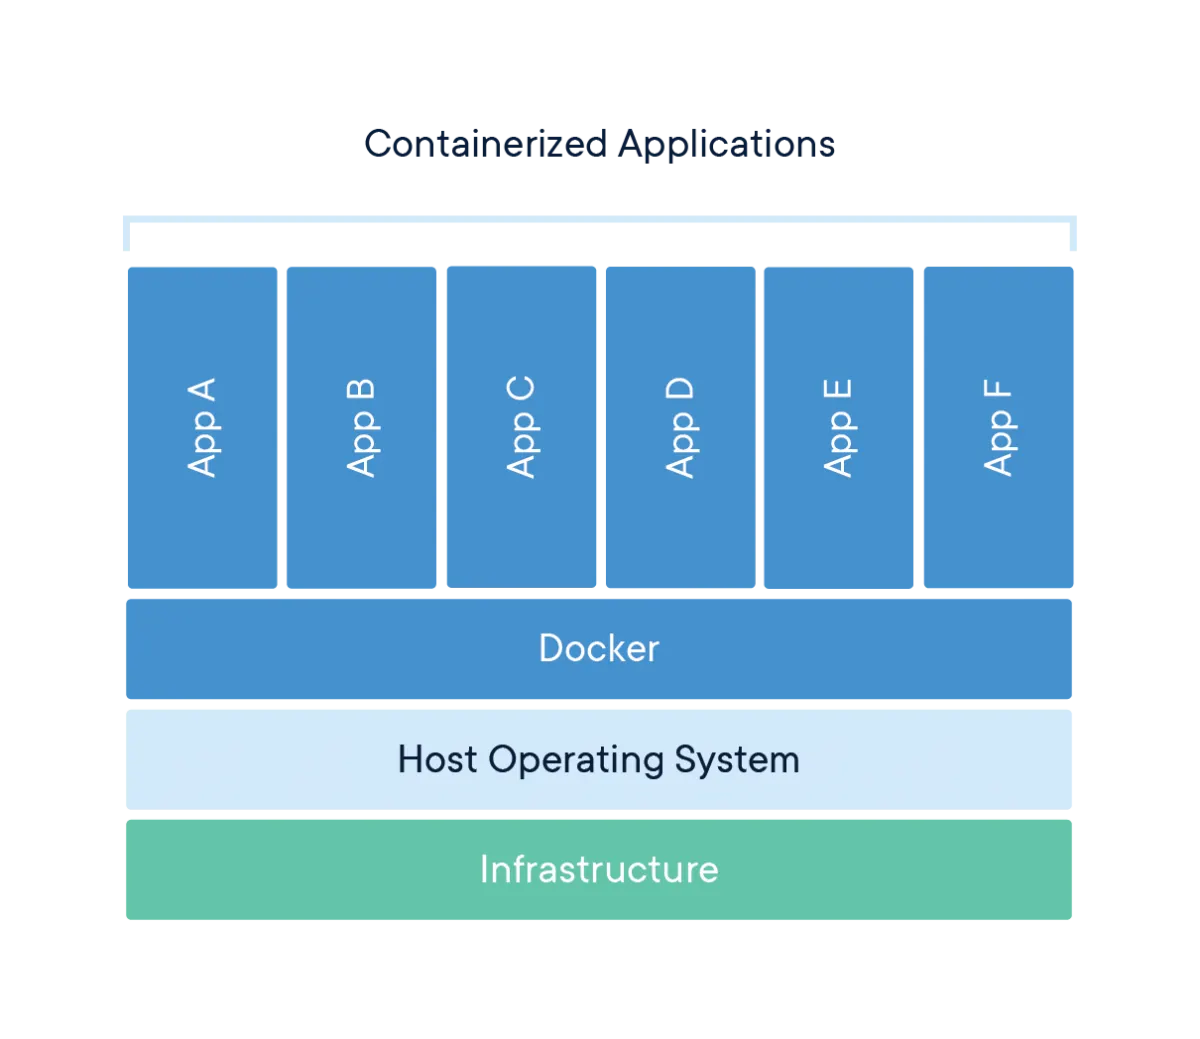
A Docker container is a standardized unit of software that bundles your application’s code with all the dependencies it needs to run.
Multiple containers can run on the same machine, sharing the host’s operating system kernel, but each container has its own isolated filesystem and allocated resources.
Traditionally, when deploying an application, you would need to manually install all required software (like MySQL, Node.js, or Redis) on the host system.
Docker simplifies this process by allowing you to define everything your application needs in a Dockerfile. This file is used to create a Docker image that can be reused across different environments. These images can be stored in repositories, making it easy to share and deploy your containers.
Think of Docker containers as lightweight, portable environments that have everything your application needs to run, but they share the underlying system’s kernel.
Why Use Docker?
Here are a few reasons to consider using Docker:
- Predictable Environments: Docker ensures that your application runs the same way in development, testing, and production environments.
- Solves Compatibility Issues: By isolating your app and its dependencies, Docker avoids conflicts that arise from different machine setups.
- Reusability and Sharing: Docker images can be easily shared across projects and teams, enabling faster setup and deployment.
Installing Docker
Docker is available on multiple platforms. You can download and install it from the official Docker website.
Here’s how we can install Docker via Homebrew.
brew install dockerAfter installation, confirm it’s working by opening your terminal and typing docker —version.
docker --versionDocker version 27.5.1, build 9f9e405If you see the Docker version listed, the installation was successful. If not, you may need to reinstall or restart your machine.
Creating a React Project
Vite is the standard tool for scaffolding React projects. It’s fast, lightweight, and comes with hot module replacement out of the box.
npm create vite@latest my-react-docker-app -- --template reactcd my-react-docker-appnpm installDockerizing a React App
To Dockerize your React app, you need to create three key files:
touch Dockerfile Dockerfile.dev docker-compose.yml- Dockerfile: This file contains the instructions for building a Docker image for your project, used for production environments.
FROM node:alpine
WORKDIR /app
COPY package.json package-lock.json /app/
RUN npm ci
COPY . /app
CMD ["npm", "run", "build"]The Dockerfile creates a production-ready Docker image for your React app:
- Pull Node.js: Uses a lightweight Node.js image (node:alpine).
- Set Directory: Defines /app as the working directory.
- Copy lockfiles: Prepares for dependency installation.
- Install Dependencies: Runs a clean install from the lockfile.
- Copy Files: Copies all app files into the container.
- Build App: Runs the build to create a production bundle.
- Dockerfile.dev: Similar to the Dockerfile, but optimized for the local development environment.
FROM node:alpine
WORKDIR /app
COPY package.json package-lock.json /app/
RUN npm install
COPY . /app
CMD ["npm", "run", "dev"]The difference between the production and development Dockerfile is that the development version runs dev (Vite’s dev server with hot reload) while the production version runs build.
- docker-compose.yml: This file defines and runs multi-container Docker applications. It links different services together (like your React frontend and any backend services) and manages them with a single command.
services: client: stdin_open: true build: context: . dockerfile: Dockerfile.dev ports: - "5173:5173" volumes: - "/app/node_modules" - "./:/app"The docker-compose.yml file sets up and runs multiple Docker containers. It defines a service called client for your React app, running it in an isolated environment.
The file maps port 5173 on your machine to port 5173 in the container (Vite’s default dev server port), so you can access your app at localhost:5173. It also mounts your app’s files and node_modules directory to keep the container and your local environment in sync.
Running Docker Compose
Once you’ve written the necessary Docker files, run the docker compose up command.
docker compose up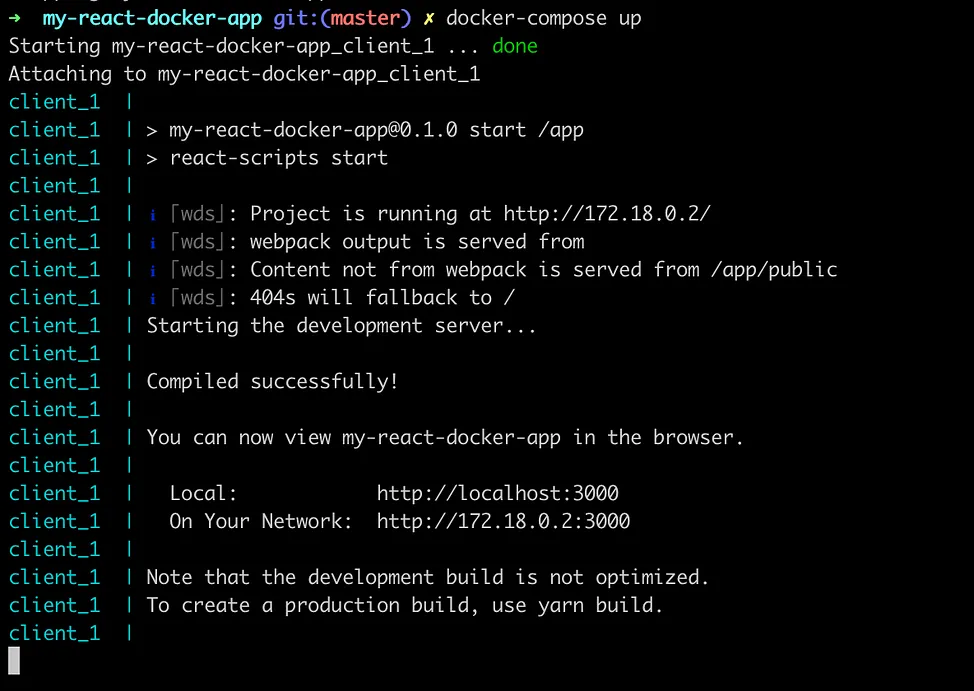
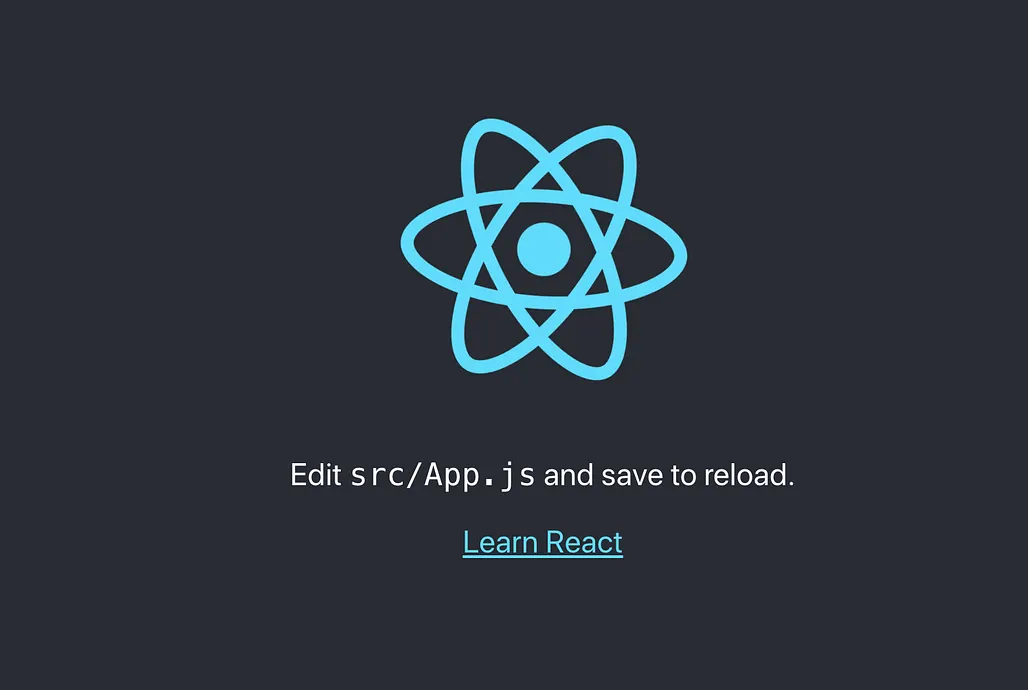
Docker will build your services according to the configurations specified, and your React app will be available at localhost:5173
For a production environment, you’ll likely need to serve the final build of your React application using a web server like Nginx.
Nginx
- Build your React app using the
npm run buildcommand inside the container. - Use an Nginx Docker container or install Nginx on your host machine.
# Step 1: Build React appFROM node:alpine AS buildWORKDIR /appCOPY package.json package-lock.json /app/RUN npm ciCOPY . /appRUN npm run build
# Step 2: Serve with NginxFROM nginx:alpineCOPY --from=build /app/dist /usr/share/nginx/htmlCOPY nginx.conf /etc/nginx/nginx.conf
EXPOSE 80CMD ["nginx", "-g", "daemon off;"]Nginx can efficiently serve your static files, handle requests, and provide additional features like load balancing and SSL termination.
- Configure Nginx to serve the contents of the build directory, which contains the compiled React application. This setup ensures your React app is optimized for production and ready to handle traffic.
server { listen 80; server_name localhost;
location / { root /usr/share/nginx/html; index index.html index.htm; try_files $uri $uri/ /index.html; }
error_page 500 502 503 504 /50x.html; location = /50x.html { root /usr/share/nginx/html; }}Build and Run the Nginx Container In Production:
Once you have your Dockerfile and nginx.conf set up, you can build and run your Nginx Docker container:
docker build -t my-react-app .docker run -p 80:80 my-react-appWhen you build and run the Nginx Docker container, it will serve your React application in a production environment.
Running on a VPS:
To deploy this setup in a production environment, you’ll typically run these Docker commands on a Virtual Private Server (VPS).
A VPS provides the necessary infrastructure to host your application publicly, allowing it to handle real-world traffic.
Steps for Deployment on a VPS:
- Access Your VPS: SSH into your VPS where you’ll run these Docker commands.
- Build the Image: Use the docker build -t my-react-app . command to create the Docker image on the VPS.
- Run the Container: Start the container with docker run -p 80:80 my-react-app to serve your application on the server’s public IP address.
Your React app will be accessible through the VPS’s IP address or domain name, effectively making it live for users.